
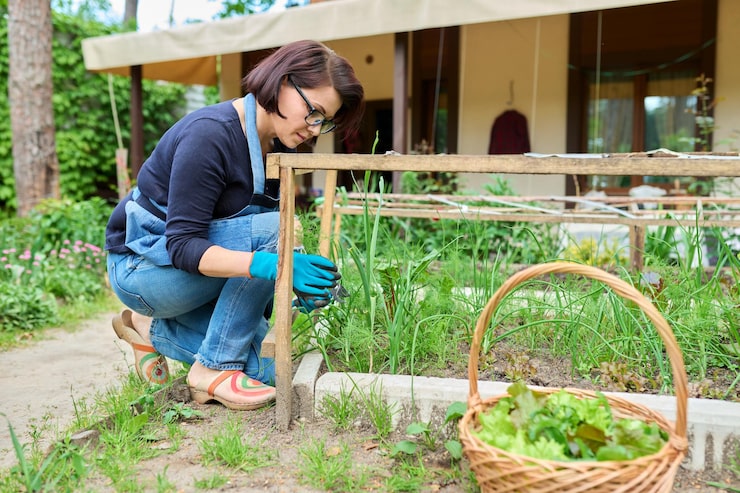
A raised garden bed solves more problems at once than almost any other beginner DIY project — better drainage, easier weed control, warmer soil in spring, and no more kneeling directly on hard, compacted ground. It’s also genuinely doable in a single weekend with basic tools, which makes it one of the most rewarding first projects for anyone easing into home DIY work.
Why Raised Beds Work Better Than Ground-Level Plots
Soil in a raised bed warms up faster in spring since it sits above ground level and isn’t shaded by surrounding grass or compacted soil layers. That extra soil depth also means better drainage, less soil compaction from foot traffic, and far more control over soil quality since you’re filling the bed yourself instead of amending whatever exists underneath your yard. For anyone dealing with poor native soil, a raised bed sidesteps the problem entirely rather than trying to fix it.
What You’ll Actually Need
- Untreated lumber: cedar or redwood boards resist rot naturally without chemical treatments leaching into soil where you’ll grow food — a 4-foot by 8-foot bed is a manageable beginner size.
- Corner brackets or screws: galvanized deck screws or simple raised-bed corner brackets hold the frame together without needing complex joinery.
- Landscape fabric: a layer at the bottom blocks weeds and grass from growing up into the bed while still allowing drainage.
- Soil and compost mix: a blend of quality topsoil, compost, and a lighter amendment like perlite gives roots the balance of nutrients and drainage they need.
Building the Frame
Cut your lumber to length, forming a simple rectangle, and secure the corners with screws or brackets — no advanced woodworking skills required. Choosing a height between 10 and 12 inches works well for most vegetables while keeping material costs reasonable; deeper beds cost more to fill but allow root vegetables like carrots more room to grow. Level the ground where the bed will sit before placing the frame, since an unlevel bed causes water to pool unevenly once it’s filled.
Placement Matters More Than People Expect
Most vegetables need six to eight hours of direct sunlight daily, so tracking sun exposure across your yard for a day or two before choosing a final spot prevents a common beginner mistake — building a bed somewhere shadier than it looked at a glance. Placing the bed near a water source also saves a surprising amount of hauling effort over a full growing season.
If limited yard space is the real constraint, a vertical option might suit you better than a traditional bed — we cover that alternative in our piece on how aeroponic towers are revolutionizing modern gardening, which solves the space problem in a completely different way.
Filling and Planting
Fill the frame with your soil and compost blend, leaving an inch or two below the top edge to prevent runoff during watering. Let the bed settle for a few days before planting, since fresh soil compresses somewhat once watered in. From there, spacing and planting depth follow the same guidelines as any garden bed — the raised structure changes drainage and accessibility, not the fundamentals of what each plant needs.
Once the bed itself is built, the rest of your outdoor DIY list often turns to smaller fixes around the yard — our guide to DIY plumbing fixes for common issues covers a few outdoor-adjacent repairs, like fixing a leaky hose bib, that tend to come up around the same time as garden projects.
The Bottom Line
A raised garden bed is one of the highest-payoff beginner DIY projects available — cheap materials, a single weekend of work, and noticeably better growing conditions than planting directly in the ground. Getting the height, placement, and soil mix right on the first build sets up everything you plant afterward to succeed.
For soil composition and amendment guidance beyond the basics covered here, USDA’s gardening and soil resources offer more detail on building healthy growing conditions specific to your region.